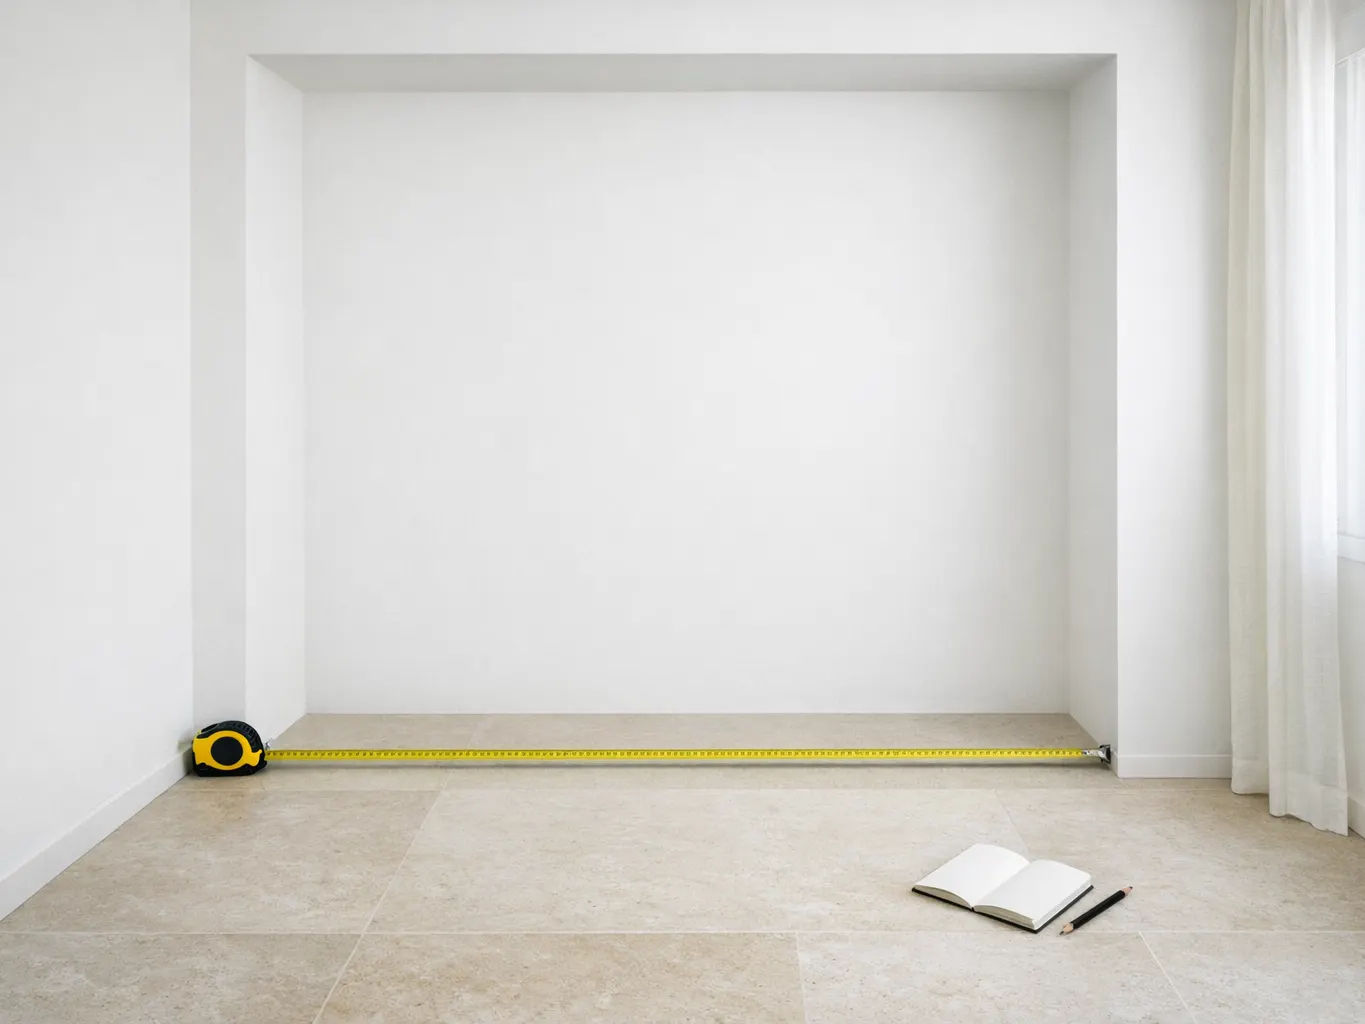
What you need
- A tape measure, 5 m is enough.
- Paper and a pencil, or the notes on your phone.
- A second person for the height, if you have one; a spirit level helps but is not essential.
- Your phone camera: a photo of the wall with the numbers written on it is the best record.
Width: at three heights
Measure from wall to wall at three heights: just above the skirting, at about chest height, and just under the ceiling. Measure in millimetres or to the half centimetre, and write all three down. On a good wall they agree to within a few millimetres; in older buildings or where plaster is thick at the corners, they can differ by a centimetre or more. If the niche has a door frame or architrave at one side, measure to the face of it, not to the wall behind.
Height: at three points
Measure from the floor to the ceiling at the left wall, in the middle and at the right wall. Floors and ceilings are seldom level, and a tiled floor can rise towards one side. If there is a beam or a bulkhead across the niche, measure under it as well — that is your real height.
Depth
For a niche, measure from the back wall to the front edge of the side walls, at the top and the bottom. For an open wall there is no depth to measure; instead decide how deep the wardrobe should be and check the room in front of it. About 60 cm deep takes clothes on hangers comfortably; shelves alone can be shallower. A hinged door needs space in front of the wardrobe to open, roughly as much as the door is wide.
What is in the way
Most surprises at the fitting come from things nobody wrote down. Note each one with its position from the floor and from the left wall.
Skirting board
What to write down: Height and thickness, and whether it can come off
Sockets and switches
What to write down: Height from the floor, distance from the left wall
Air-conditioning pipes and cable trunking
What to write down: Where they run, how far they stand off the wall
Beam, bulkhead or sloping ceiling
What to write down: Where it starts, the height under it at both ends
Window sill, radiator, door frame
What to write down: Position and how far it sticks out
The wall itself
What to write down: Concrete, brick or plasterboard, if you know — it decides the fixings
| What | What to write down |
|---|---|
| Skirting board | Height and thickness, and whether it can come off |
| Sockets and switches | Height from the floor, distance from the left wall |
| Air-conditioning pipes and cable trunking | Where they run, how far they stand off the wall |
| Beam, bulkhead or sloping ceiling | Where it starts, the height under it at both ends |
| Window sill, radiator, door frame | Position and how far it sticks out |
| The wall itself | Concrete, brick or plasterboard, if you know — it decides the fixings |
Take the smallest number
A carcass cannot be squeezed. If it is 5 mm wider than the narrowest point of the niche, it does not go in. So the design uses the smallest width and the smallest height you measured, and the gaps that are left where the walls lean out are closed with filler strips. Next to a side wall, a hinged door with a handle needs a filler of about 5 cm so it can open fully; the designer warns you if it is missing.
Height has one more check. A tall wardrobe is assembled lying down and then stood up, and on the way up its diagonal — from the back of the floor to the front of the top — must clear the ceiling. A wardrobe that fits standing may not get there. The designer checks this against your ceiling height.
Why the workshop measures again
Your measurements are for the design and the estimate. Before anything is cut, the workshop comes and measures the room itself, looks at the walls, the floor and the way in, and its numbers are the ones that go to the saw. So a few millimetres off on your side change nothing; a wrong centimetre in the design is corrected at the visit. What does matter is that you write down the obstacles, so the design already allows for them.
How to enter it in the designer
- Open the designer and start from the wardrobe.
- Enter the wall width and height: the smallest width and the smallest height you measured.
- If it is a niche, enter its depth.
- Describe what is in the way in plain words — “socket on the left at 30 cm from the floor”, “AC pipe along the ceiling” — or add a photo of the wall.
- Then shape the inside: rail, shelves and drawers per section. The estimate follows each change.